GRANNY B’s CHALKPAINT
Mannequin Tutorial by Cari Fennell
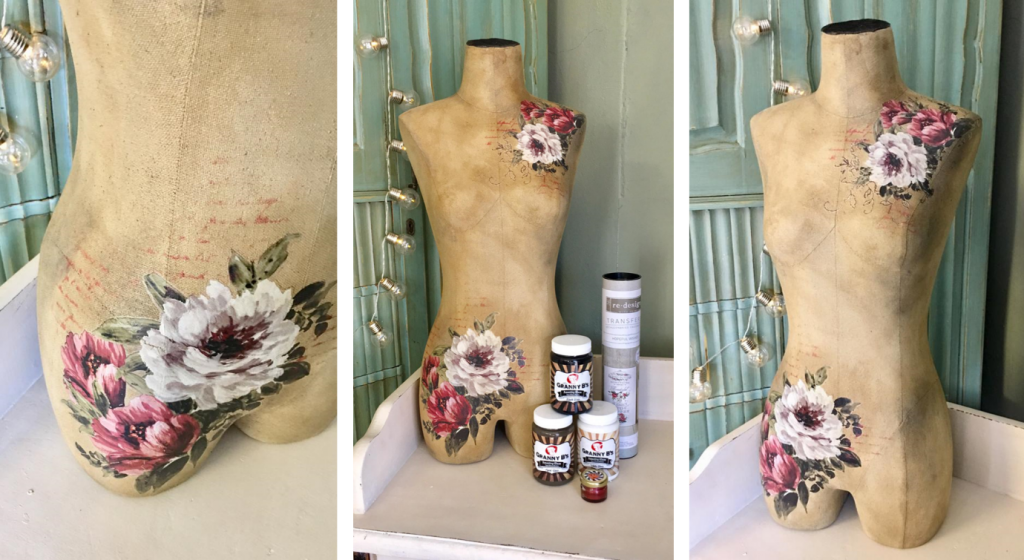
This mannequin project was so fun to create! The Granny B products made it so easy to achieve a vintage look without a lot of effort. I was able to create a fabulous effect with the Amazing Glazes by mixing different shades together and applying them to this canvas covered mannequin with ease. The overall effect was brilliant. The techniques used for this tutorial can be applied to many other projects too, including furniture and walls. Applying the glazes to your projects will create depth and highlight details effortlessly for a unique finish every time.
Supplies:
- Medium Paint Brush
- Small Paint Brush
- Amazing Glazes: White, Black, Aged
- Paint: Beach Sand
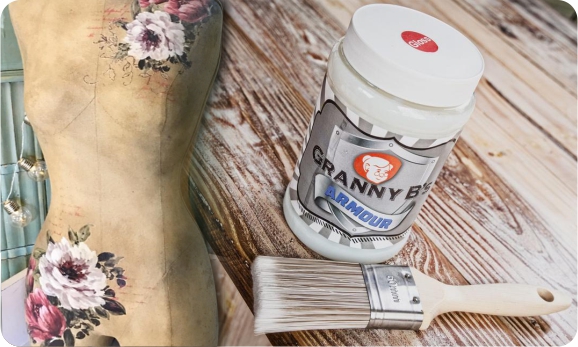
- Armour- Matt
- Canvas Mannequin
- Lint Free Cloth
- 2-Cups or Small Bowls-one for water and the other for mixing glaze
- Stick or Plastic Spoon
- Redesign with prima Transfer-Hopeful Wishes or any floral design of your choice
Surface prep:
Paint the entire mannequin using Beach Sand and allow it to dry. Add a second coat if needed to ensure complete coverage. (Tip-if the fabric on your mannequin is coarse or highly textured, lightly mist with water before adding the paint. This will help move the paint into the textured surface evenly and smoothly)
Seal the painted surface with Armour Matt and allow it to dry completely.
Glazing:
Create a charcoal coloured glaze by mixing 2 parts White glaze and 1 part Black glaze in a cup. Use in tablespoon measurements. Then add a teaspoon of water. Stir well using a spoon or stick. (Tip-create your own custom gray glaze by adding more white or more black depending how light or dark you would like your glaze to be. Save any excess in a covered jar to use again later.)
Decant the Aged glaze in another bowl, 1 cup measurement.
Work in sections at a time. Start adding the Aged glaze using a brush, then using a damp cloth, move the glaze around over the surface. Add more of the Aged glaze for a darker shade if desired.
Then add a small amount of the charcoal glaze in areas over the aged glazed surface with a small brush and blend in with your cloth. I only added a couple of small dabs. You can add more or less depending on the look you want.
**You can also use a wet brush instead of the damp cloth. Make sure the brush is damp and not saturated. Dip brush in water and squeeze out excess water from the bristles each time.
Keep working in sections until the entire mannequin is covered. Touch up any areas where you may want a bit more shading by adding a little more of the glazes. Allow the surface to dry completely-about an hour or more.
Add the floral transfers to the mannequin where you like. For this step, the surface has to be completely dry.
When working on a non-flat surface, I like to burnish from one end of the transfer and work my way slowly towards the other end. This helps to work the image onto the surface in small sections going around the curves and edges so the image doesn’t crack or tear too much. (Tip-You will get some small cracks in the image but this adds to the aged look nicely. Just take your time. If there are areas that crack too much, cut out another flower and add it over that area to cover it. )
Once the transfer has been applied, add a layer of Aged glaze over it gently with a brush so it blends with the look of the surface. I felt the transfer looked too new or bright compared to the rest of it and it worked perfectly to blend in with the background.